How to coil climbing rope? A climbing adventure is not only the unlimited joy and an adrenaline rush. It requires more than just physical prowess and mental fortitude; it demands a mastery of the tools that safeguard your ascent. Among these essential tools is the climbing rope, a lifeline that intertwines with every upward stride.
In this guide, we delve into the craft of coiling climbing ropes, unlocking the secrets behind the Butterfly and Mountaineer’s coils.
The art of coiling climbing rope is an indispensable skill that ensures safety, efficiency, and the preservation of your gear no matter the experience of the climber.
The adventure begins not only in the ascent but in the careful preparation and maintenance of your climbing equipment.
Join us on this journey as we open a rope bag and unravel the knots and loops that transform a simple length of rope into a trusty companion on the shoulders of the vertical paths that beckon to be conquered.
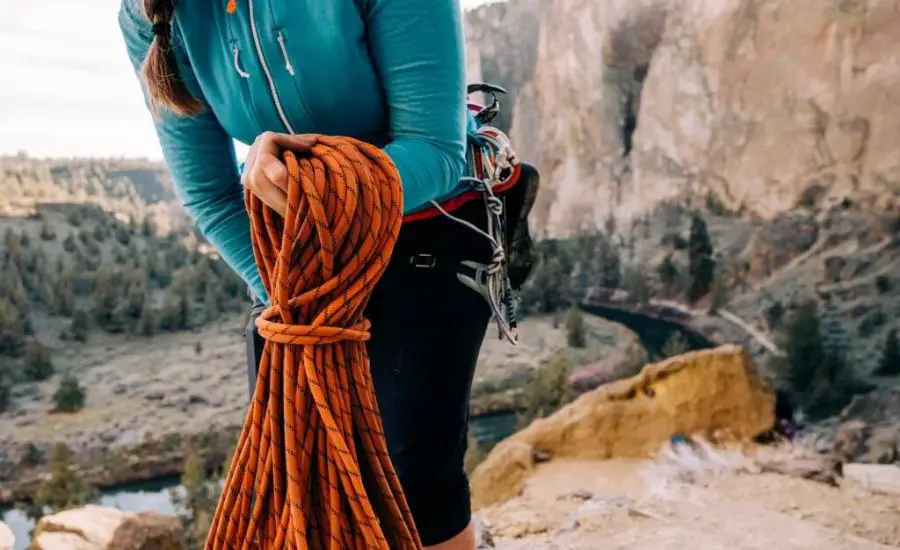
- Mastering efficiency: the art of how to coil climbing ropes
- Butterfly Coil
- Step 1. Gather your equipment
- Step 2. Understand the technique
- Step 3. Creating the first loop
- Step 4. Continue the rope coiling process
- Step 5. Middle marker
- Step 6. Finalize the coil
- Step 7. Adjust for comfort
- Mountaineer’s Coil
- Step 1. Essential equipment
- Step 2. Unravel the rope
- Step 3. Begin the coiling
- Step 4. Two strands, one direction
- Step 5. Indicating the middle
- Step 6. Finalize with a secure knot
- Step 7. Backpack coil for comfort
- Conclusion
- FAQ
- How do you coil a climbing rope without tangling?
- How do you coil a climbing rope into a bag?
- How do you butterfly coil a climbing rope?
- Is it possible to use a doubled rope for climbing?
Mastering efficiency: the art of how to coil climbing ropes
Coiling a climbing rope is not merely a routine task; it is a synergy of form and function, where efficiency is the key to a smoother ascent.
Among the myriad techniques for ropes tying and coiling, two stand out for their balance of simplicity and effectiveness.
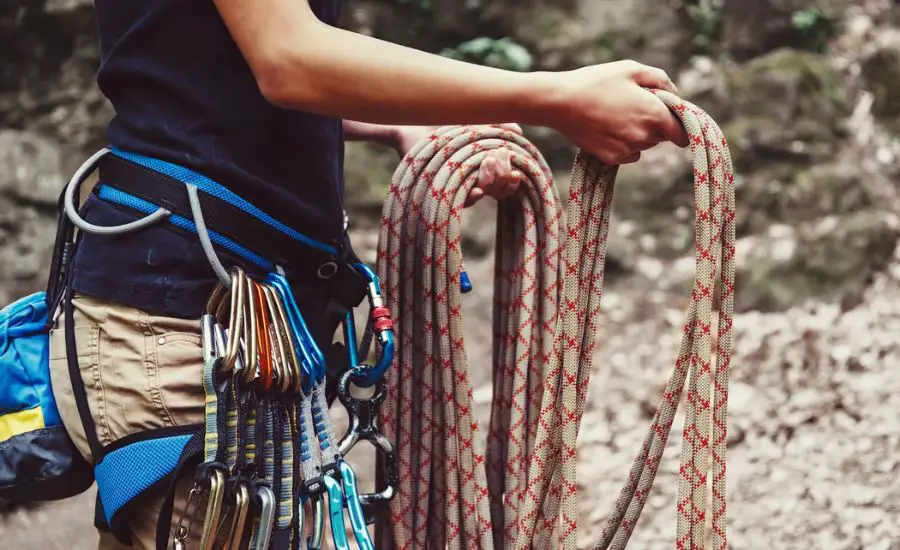
Butterfly Coil
This coil stands out for its efficiency and versatility. Let us walk you through the process of mastering this technique.
Step 1. Gather your equipment
Before you start, ensure you have all the necessary equipment: a climbing rope, a rope bag, and a clear area to work.
Having the right tools at your disposal sets the stage for a smooth coiling process.
Step 2. Understand the technique
The Butterfly is known for its neat and easily deployable nature.
Begin by holding two ends of the rope with one end in one hand.
You need to make sure that the two ends of the rope are free of any knots or twists. This coil is often used for its quick deployment when time is of the essence.
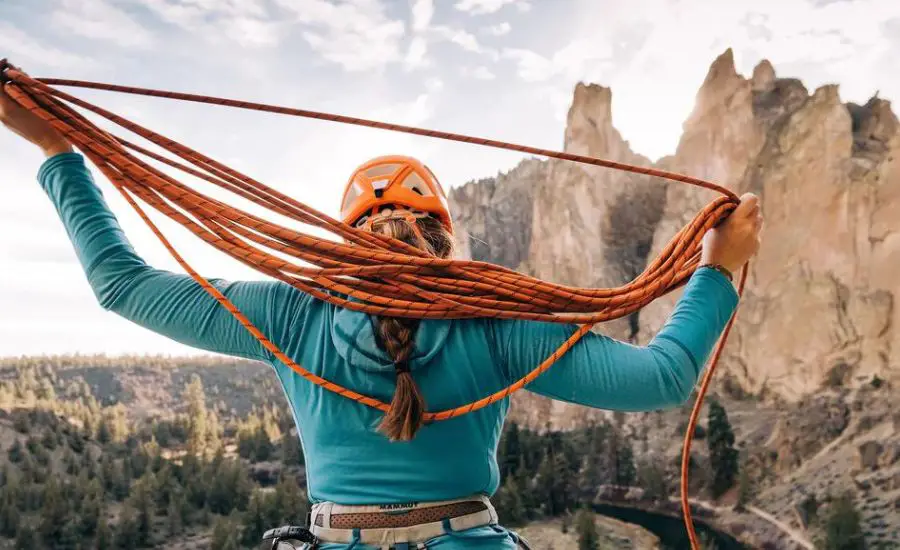
Step 3. Creating the first loop
Hold the rope in one hand, allowing a loop to form naturally. With your other hand, bring the rope across your body and create a second loop in the opposite direction. This opposite directions motion forms the foundation of the rope coil.
Step 4. Continue the rope coiling process
Alternate between creating loops in opposite directions, ensuring that each loop is snugly placed against the previous one on the shoulders and neck. As you progress, carry on at a steady pace to avoid twists and tangles.
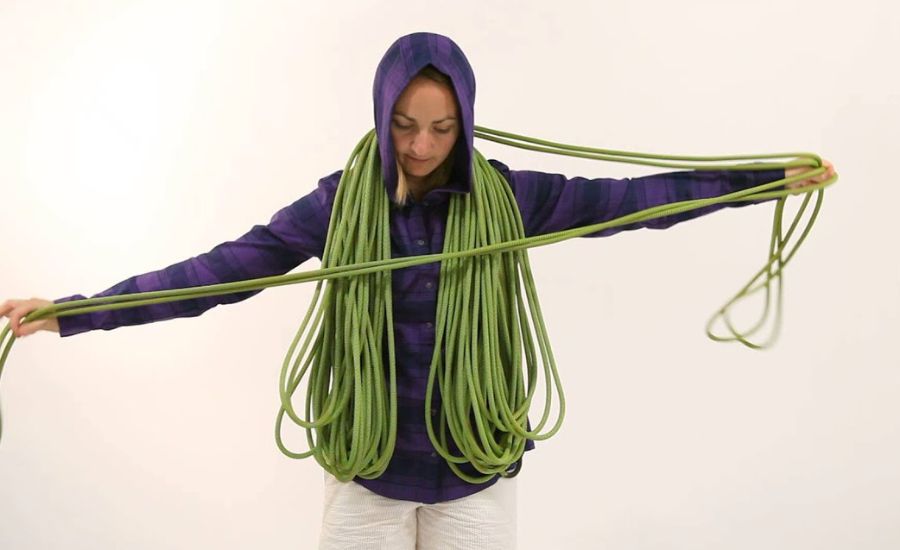
Step 5. Middle marker
When you’re approaching the middle of the rope, it’s essential to demonstrate the middle by placing a marker. This marker serves as a reference point and aids to pull the rope quickly and efficiently during your climb.
Step 6. Finalize the coil
Carry on coiling until you reach the top end of the rope. Tie a square knot. It’s done to secure the coil, ensuring a tight and reliable tie.
Step 7. Adjust for comfort
After coiling, wrap the rope over your shoulders and neck, tying a backpack coil. This method allows for easy carrying while keeping the rope accessible for quick deployment.
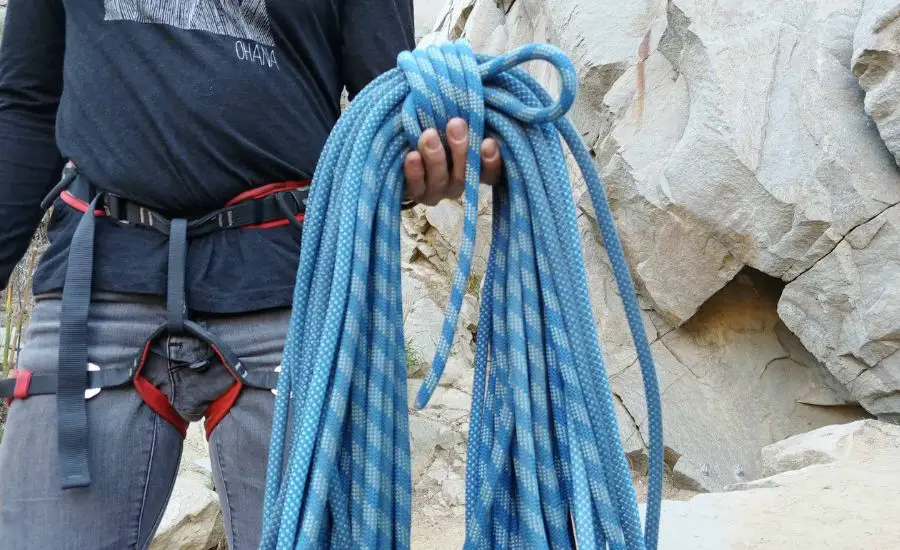
Mountaineer’s Coil
This rope coil represents a wrap known for its efficiency and simplicity. Follow these steps to ensure you’re well-prepared for your next climbing adventure.
Step 1. Essential equipment
Before you embark on coiling your climbing rope using the Mountaineer’s Coil technique, gather your essentials — a reliable climbing rope, a rope bag for storage, and a clear space to work.
Step 2. Unravel the rope
Pull the rope from the bag. Start with the rope laid out in front of you, ensuring there are no knots or twists.
The Mountaineer is particularly useful for its quick pull, making it a favorite among experienced climbers.
Step 3. Begin the coiling
Hold two ends of the rope, one end of the rope in each hand. With these two ends, create the initial loop.
Unlike the Butterfly, the Mountaineer involves coiling the rope in the same direction. As you progress with loop after loop, maintain a consistent pace to avoid twists and tangles.
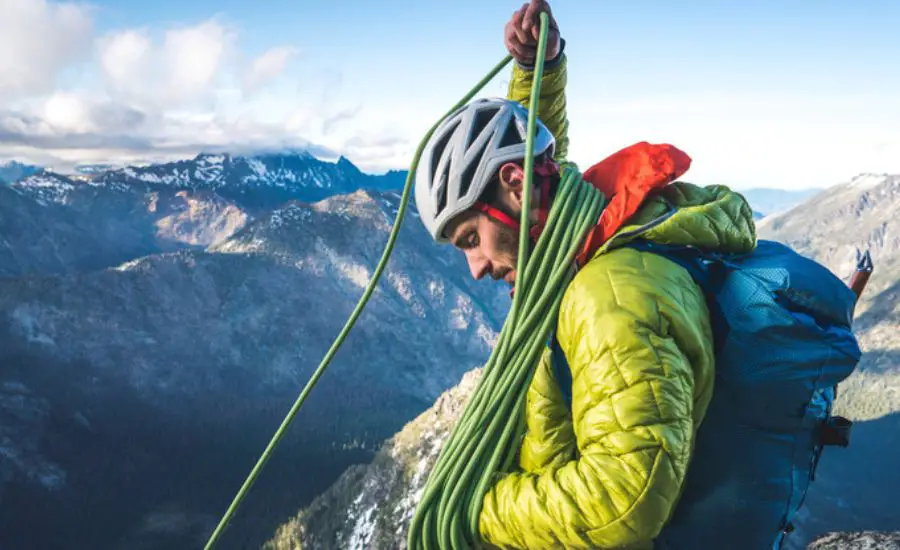
Step 4. Two strands, one direction
Continue coiling the rope, making sure two strands follow the same direction. This uniformity of loop formation is key to the Mountaineer’s efficiency and quick pull during your ascent.
Step 5. Indicating the middle
Introduce a middle marker the same way you did with the Butterfly. It’s a significant reference point for the rope middle.
Step 6. Finalize with a secure knot
Once you reach the top end of the rope, tie the coil with a reliable square knot. When you tie this knot, you ensure that your Mountaineer stays intact during transport.
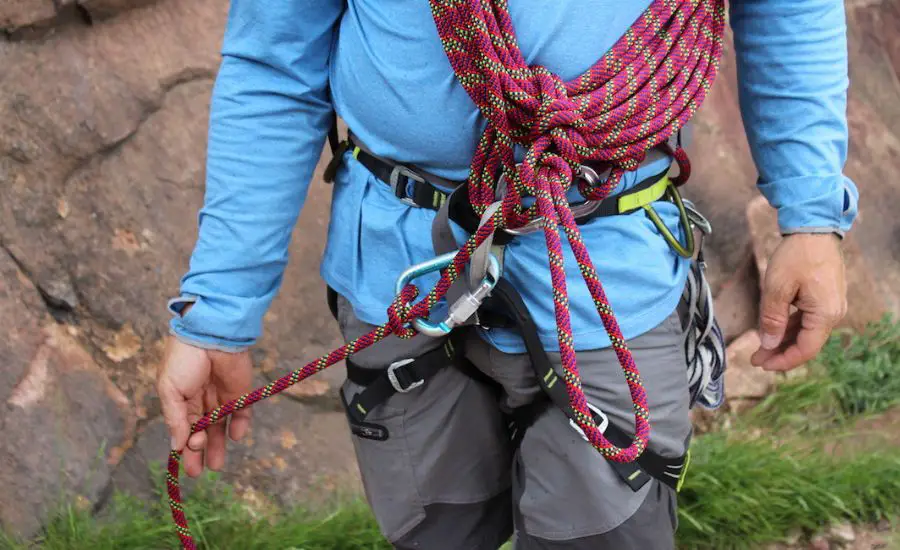
Step 7. Backpack coil for comfort
After you finish the wrap, sling the rope over your shoulders and neck.
This wrap forms a comfortable backpack wrap (coil).
The method allows for easy transportation of the rope on your shoulders with quick access to it. You can pull it at any time.
Conclusion
The mastery of rope management stands as the epitome of safety and efficiency. From the intricate loop of the Butterfly to the compact embrace of the Mountaineer, each technique and pull of rope handling is a testament to a climber’s skill set.
As we navigate the vertical world, tying ropes, their knots, coils, and middle markers cease to be mere technicalities — they become silent companions, essential aides in the climber’s odyssey.
So, as you stand in the middle of your next challenge, rope in hand, may the twists, loops, and neatly stacked coils remind you of the journey you’ve undertaken — a journey where preparedness meets passion, and every knot you tie is a step closer to the summit you dream to climb.
FAQ
How do you coil a climbing rope without tangling?
To coil a climbing rope without tangling, use the Butterfly’s Coil technique. Grasp one rope end, form loops of consistent size, and maintain a steady rhythm. This way you’re avoiding twists and ensure a tangle-free rope coil. Tie the square knot as the final part to secure the rope.
How do you coil a climbing rope into a bag?
To coil a climbing rope into a rope bag, use the Backpack Coil method. Secure one end to the top of the backpack and carry on to coil the rope in an organized manner. This technique distributes the weight evenly on the shoulders and facilitates easy rope deployment.
How do you butterfly coil a climbing rope?
To coil a climbing rope in a butterfly style, start by laying the rope on the ground. Grasp one rope end with both hands about an arm’s length apart, create a rope loop, and continue making loop after loop of similar size. This technique helps prevent rope tangles and distributes the weight evenly without an excessive burden on the neck and shoulders.
Is it possible to use a doubled rope for climbing?
You can use a doubled rope, but the uncoiling technique is more complex for such a rope.


